
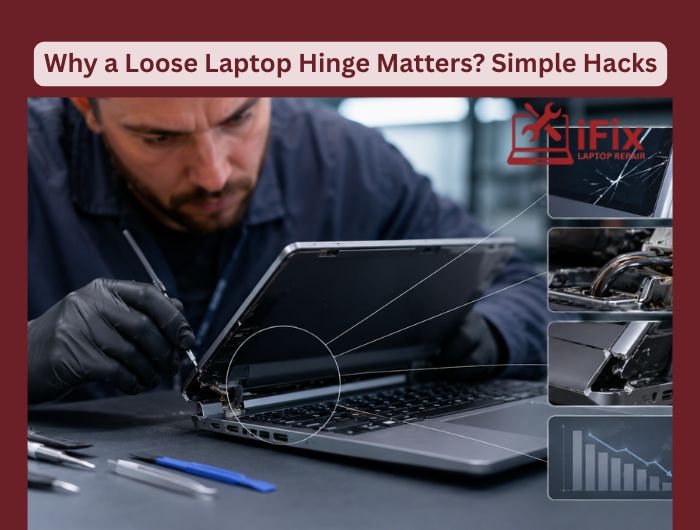
A loose laptop hinge might look like a small issue at first, but it can quickly lead to serious damage if ignored. It can put pressure on the display cable, weaken the screen frame, and even cause cracks over time.
In some cases, the laptop lid may stop staying in position properly, making daily use frustrating and risky. Fixing it early helps avoid expensive repairs later.
Step 1: Turn Off and Prepare Your Laptop
Before starting, shut down your laptop completely and unplug it. If your laptop has a removable battery, take it out. This keeps the repair safe and avoids any electrical issues.
Step 2: Check and Tighten the Screws
Open the back panel or hinge area carefully. Look for loose screws around the hinge. Use a small screwdriver to gently tighten them. Do not apply too much force, as it can damage the plastic.
Step 3: Fix Cracks or Loose Frame
If the plastic around the hinge is cracked, a small amount of epoxy glue can help. Apply it carefully and hold the parts in place until it sets. Let it dry fully before using the laptop again.
Step 4: Clean the Hinge Area
Dust and dirt can make the hinge stiff or uneven. Use a soft brush or cloth to clean around the hinge. This helps improve smooth movement.
When to Get Professional Help
If the issue is beyond basic tightening or cleaning, it’s better to stop DIY repairs. You should seek expert help if:
- The hinge keeps loosening even after tightening the screws
- The plastic or frame is heavily cracked or broken
- The screen moves too stiffly or feels like it may snap
- You notice damage near the display cables or internal parts
- The laptop lid does not stay in position properly
| Don’t wait for the damage to get worse. Get fast and reliable laptop hinge repair today and protect your screen from costly damage. Laptop Hinge Repair Service |
